On set iOS monitoring – it’s what makes every director feel cool. However, choppy video and difficult to use systems have made this “cool” tech out of reach for most shooting environments. Recently a friend broke out his serv pro on a commercial and I was very impressed with it. After buying my own, here are some of my thoughts.
Body Design
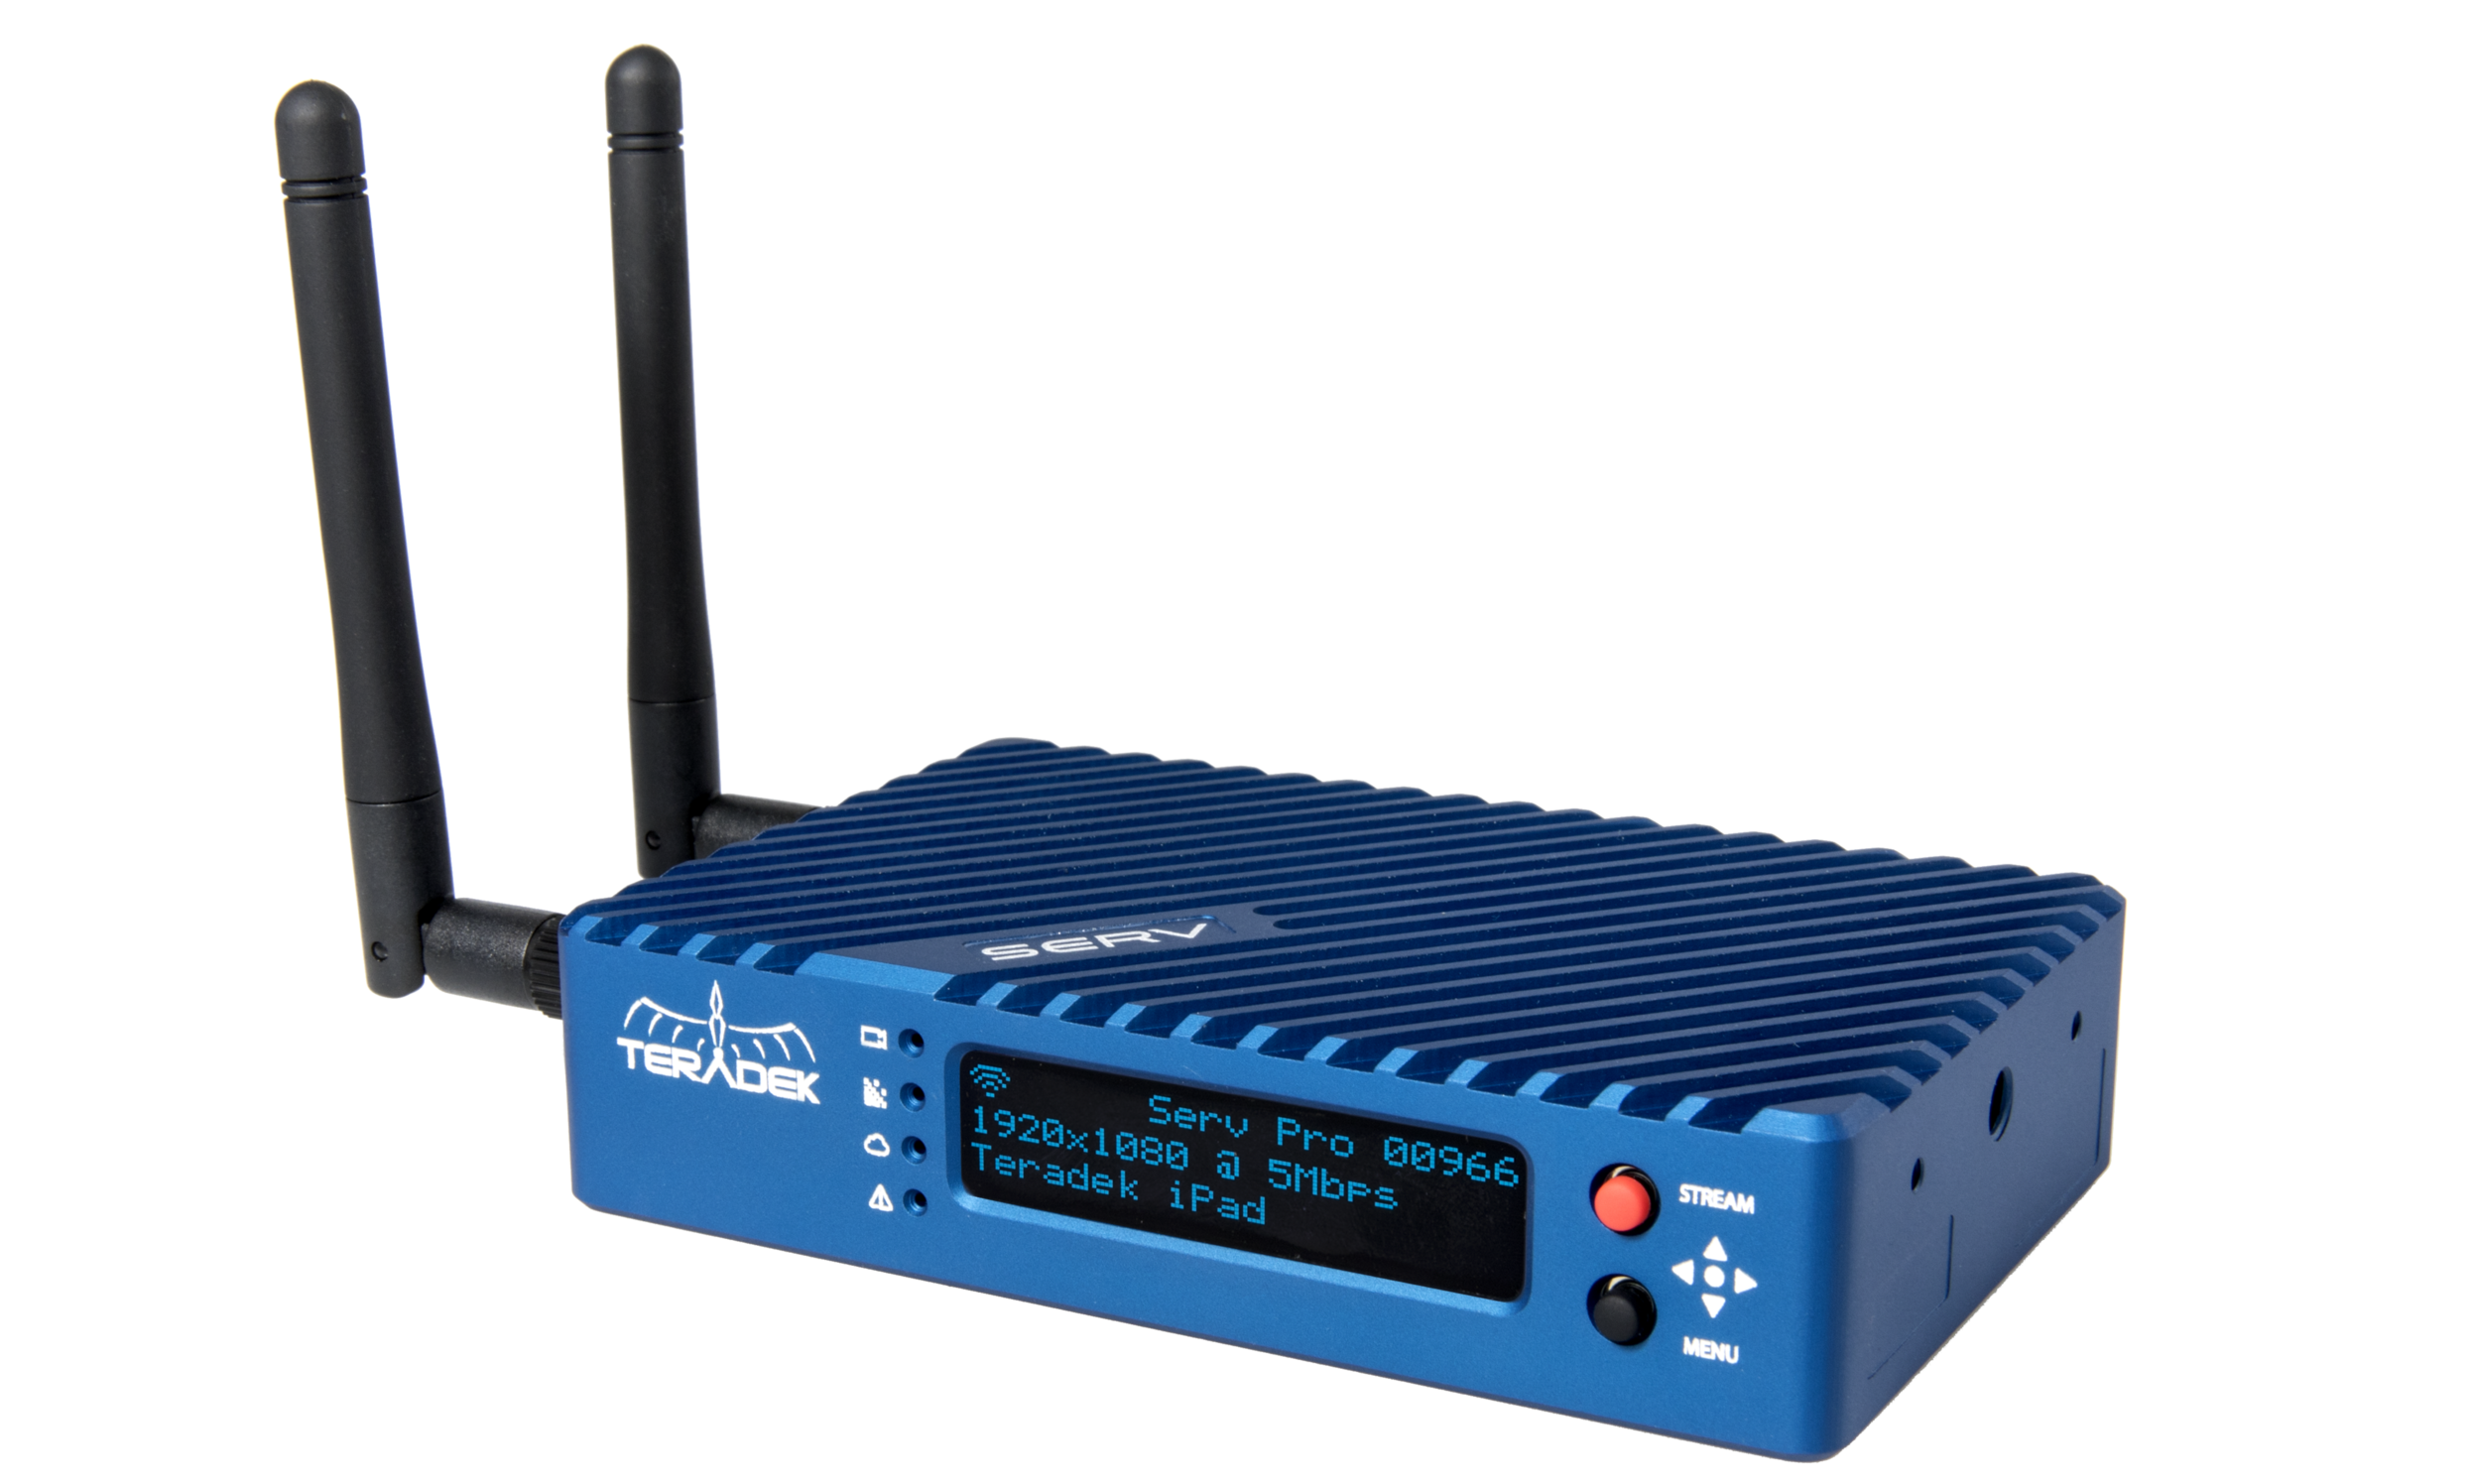
Teradek has taken a step forward and started accepting that their technology gets HOT! the Serv pro is covered in small diagonally running grooves to increase surface area and thus, cooling. The blue metal is striking and attractive, but I’ve also found that it’s practical: it looks different than my Bolt2000 and is easy to tell apart quickly. although Teradek has taken a step forward in cooling, they’ve gone backward in mounting options. There are only 2 – that’s right, count ’em – TWO mounting holes. Both are threaded and both are very shallow. There are no through holes. I find myself carrying a stack of washers to incrementally find the correct depth so I can tighten the bolt down without bottoming out and stripping my only lifeline.
Connection Options
The serv comes standard with BOTH HDMI and HDSDI in for use with a range of cameras and on set workflows. However, there is no loop out. So once you plug this in, that’s it – it’s the end of the line. As we all know, on camera SDI ports can become a bit of a scarcity – especially when using RED. And since teradek expects us to put this thing on the camera, it really needs to have a loop out or your 1st AC has to sacrifice his onboard focus monitor (that’s not important right?).
Delay
Speaking of focus: While the serv is a huge step up when compared to previous iOS monitoring attempts, there is still a noticeable delay. While you could possibly use this with a remote focus in a pinch, I wouldn’t rely on it. Directors also sometimes have a hard time watching it with sync sound because the action they see is delayed from the sound.
Teradek Link
I also bought the Teradek branded wifi router called the link. This enables multiple servs to connect to a single access point and extends the range up to 1000ft. This is super helpful on multicam sets. Directors, clients and agency peeps can switch between cameras or enable a two-up, or four-up display right in the app. The firs time I used the link the link on set, I had to contact Teradek because it wasn’t obvious that I was supposed to connect the serv’s to it via wifi. I assumed I could connect two through the ethernet ports on the Link. While you can connect via ethernet, you can only connect one serv that way or you need an ethernet router. Also, the Link has the option to be powered through an onboard battery plate, but the battery plate requires a short p-tap to lemo 2-pin pigtail for power rather than passthrough.
Set-up
The first time you set up your serv, don’t try to do it on set… The wifi password to a new serv is the serial number which can take a minute to type in. then you may want to download the app on your iPad or iPhone before you get into the field where service may be limited or wifi may be slow. The app is huge! Teradek thought through the app very well and it’s well laid out. It does take some thinking to get a feed to show up. I haven’t yet had anyone intuitively figure out how to configure it on their own device. Once set up though, It’s a dream. I can check exposure with histograms, false color, or waveform and I get focus tools like peaking and punch in. My favorite though is the frame grab feature. It allows me to overlay shots for matching something. But the biggest use is on low budget features when I don’t have a full crew, I can quickly check coverage from early in the day to match sizes and make sure I don’t cross the line.
Cautions and Pro Tips
A few last warnings that Teradek wont tell you. first, the servs do not include p-tap power. Only AC. This isn’t going to go well if you plan to use it on camera like Teradek is telling you to. Also, the app doesn’t work on all iOS devices. Check your app store before you buy. My preference is the iPad mini 4. I bought two to keep with the kit that aren’t linked to my personal iCloud so the director isn’t getting text messages from my wife… the way I see it, the last handheld monitor I bought cost nearly $6k with the screen, batteries, rig and 2000 RX so the cost of an iPad is almost nothing. I also purchase this case, external battery, sunhood and holster for the battery. With this setup, the iPad can last all day without resting and take the abuse of being on set. Careful though, the sunhood will loose the buckles for the straps if you don’t keep an eye on it.
Summary
All-in-all, I’d say the teradek serv pro may have some drawbacks, but it’s a must have for any size production in my opinion.


 2 x 4′ Quasar Science x-fade tubes


